Updating the RAM on a MacBook Pro
July 28, 2013
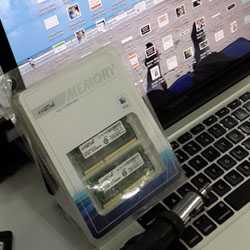
A few months ago, I spent a lot of time doing research into which companies make the best RAM for my MacBook Pro 15”. I love my laptop, but my need to multi task with numerous browser tabs and applications open at all times has rendered the poor champ into a machine that tends to freeze due to lack of RAM. I finally settled on getting RAM from Crucial as they and Kingston seemed to be the better options.
I placed my order online, and this is probably a good time for me to add that I’m not a big online shopper having bought maybe 5 things online in the past. I got the reciept emailed to me, but most all then fields were blank. I emailed the company about it, wondering what was happening with my order and how long it would take to receive. They responded surprisingky quickly and told me to wait about 4 weeks. If I didnt get it by then then I should get in touch with them again.
Just over 4 weeks later, the package arrived! I was ecstatic upto the point I realised I needed a screw driver to take the screws out of my laptop back. While it wouldn’t have been hard to find one, I became lazy/busy/worried that I’d mess it up, and decided to not change the RAM until I was on a decent holiday break. I was also under the impression that I had to run some installation scripts or something, which would have made the process even longer and more worrisome.
However two days ago, I finally took the plunge and decided to change the RAM. Best decision ever. My laptop is so sweet and smooth now, hasnt frozen on me yet, and is just fast. So fast. The process to change my RAM was pretty simple as well, and required no installation scripts or anything.
How To Change Your RAM
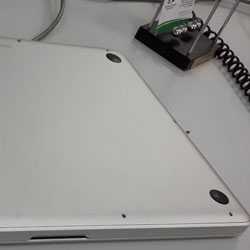
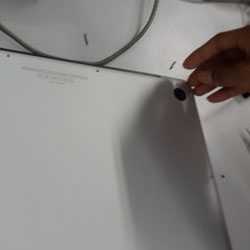
Step 1: Remove all the screws. Be careful not to lose any of them!
Step 2: Carefully pull the back off your laptop
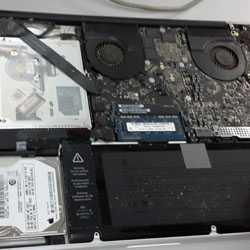
Step 3: Locate where your RAM is and push the clips so that they pop out
Step 4: Carefully pull out the old RAM. The bottom one was a little tougher to pull out, though that might have been due to my clumsy thumbs
Step 5: Slide your new RAM into place, and once theyre both in push the top one down until theyre popped back into place
Step 6: Put the case back on and screw the screws back in
Step 7: Turn your machine over and press the on button
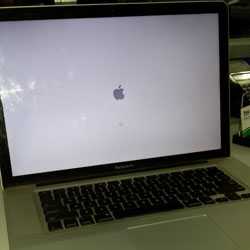
When you first start up your laptop, it might take a few minutes to fully load as its setting up and configuring to the new RAM - don’t panic!
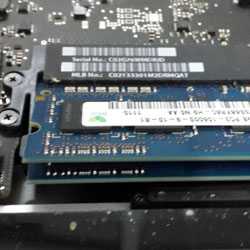
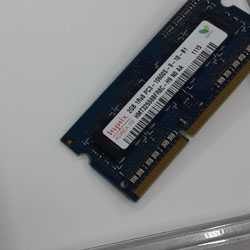
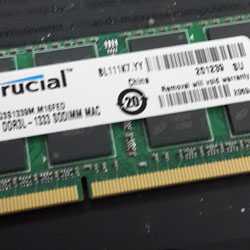
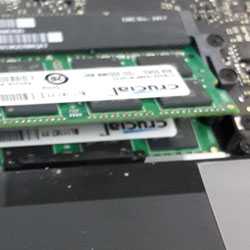
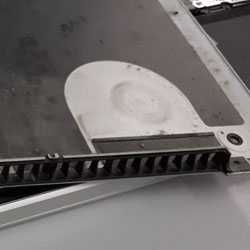
Here are some pictures of me changing my RAM. I went from the default RAM provided in my Macbook (4GB), to 2x8GB Crucial Ram.
Voila, all done!
