AngularJS Tutorial Part 5: Creating Individual Pages for Characters and Movies
August 20, 2016
This is part 5 of a multi-part Intro to AngularJS tutorial series. Part 4 can be found here.
Now we’ll work on making individual pages for each Character and Movie. We’ll begin by creating new routes in the app.js file.
  .when('/character/:id', {
    templateUrl: 'views/character.html',
    controller: 'CharacterCtrl',
    controllerAs: 'character'
  })
  .when('/movie/:id', {
    templateUrl: 'views/movie.html',
    controller: 'MovieCtrl',
    controllerAs: 'movie'
  })
Next we’ll create new controllers and views for each file, as well as add references to these files into the index.html file.
<script type="text/javascript" src="controllers/character.js"></script>
<script type="text/javascript" src="controllers/movie.js"></script>
In the character and movie controllers, we include $routeParams in the header. We will use this to access the id variable to figure out which character or movie is being accessed. We’re also making use of a loading variable. This helps hide the no character exists message that would show up while the API call was being made. In both the character and movie views, we’re making use of ng-if, which is essentially using an if statement in HTML! ISN’T THIS AMAZING?
First up, create a new file in your controllers folder called character.js with the following code. This code is somewhat similar to the code we have in our main.js controller.
angularApp.controller("CharacterCtrl", [
  "$routeParams",
  "$scope",
  "SwapiService",
  function($routeParams, $scope, SwapiService) {
    $scope.character = {}
    $scope.loading = true
    $scope.id = $routeParams.id

    SwapiService.people().then(function(data) {
      angular.forEach(data.data.results, function(person) {
        if (person.name.toLowerCase() === $routeParams.id.toLowerCase()) {
          angular.copy(person, $scope.character)
          console.log(person)
        }
      })
      $scope.loading = false
    })
  },
])
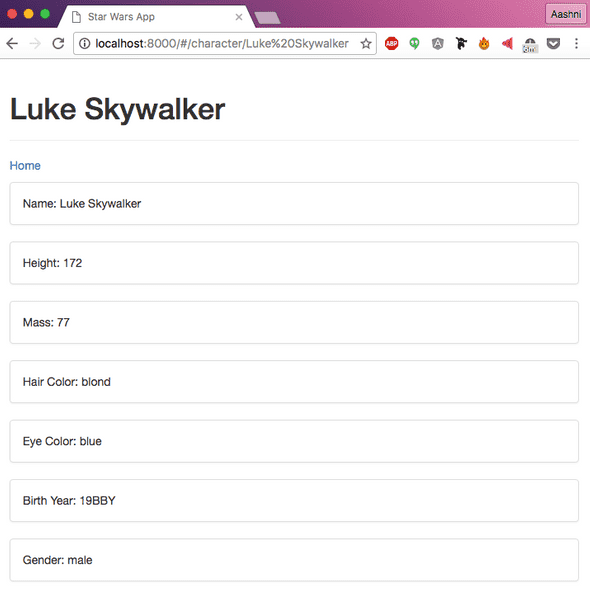
Next, we’ll create a new file in the views folder called character.html and add the following code. Similar to referencing person.name in the last section, we’re referencing other data stored about the character such as their height.
<div class="col-md-10 col-md-offset-1" ng-if="loading">
  <div class="page-header">
    <h1>Loading...</h1>
  </div>
</div>

<div class="col-md-10 col-md-offset-1" ng-if="!loading">
  <div ng-if="character.name">
    <div class="page-header">
      <h1>{{ character.name }}</h1>
    </div>

    <p><a href="#/">Home</a></p>
    <p></p>

    <div class="panel panel-default">
      <div class="panel-body">
        Name: {{ character.name }}
      </div>
    </div>
    <div class="panel panel-default">
      <div class="panel-body">
        Height: {{ character.height }}
      </div>
    </div>
    <div class="panel panel-default">
      <div class="panel-body">
        Mass: {{ character.mass }}
      </div>
    </div>
    <div class="panel panel-default">
      <div class="panel-body">
        Hair Color: {{ character.hair_color }}
      </div>
    </div>
    <div class="panel panel-default">
      <div class="panel-body">
        Eye Color: {{ character.eye_color }}
      </div>
    </div>
    <div class="panel panel-default">
      <div class="panel-body">
        Birth Year: {{ character.birth_year }}
      </div>
    </div>
    <div class="panel panel-default">
      <div class="panel-body">
        Gender: {{ character.gender }}
      </div>
    </div>
  </div>

  <div ng-if="!character.name">
    <div class="page-header">
      <h1>No one by the name {{ id }} exists :(</h1>
    </div>

    <a href="#/">Return Home?</a>
  </div>
</div>
Now we’ll repeat what we did above to create a movie.js file in the controllers folder with the following MovieCtrl code.
angularApp.controller("MovieCtrl", [
  "$routeParams",
  "$scope",
  "SwapiService",
  function($routeParams, $scope, SwapiService) {
    $scope.movie = {}
    $scope.loading = true
    $scope.id = $routeParams.id

    SwapiService.films().then(function(data) {
      angular.forEach(data.data.results, function(film) {
        if (film.episode_id == $routeParams.id) {
          angular.copy(film, $scope.movie)
        }
      })
      $scope.loading = false
    })
  },
])
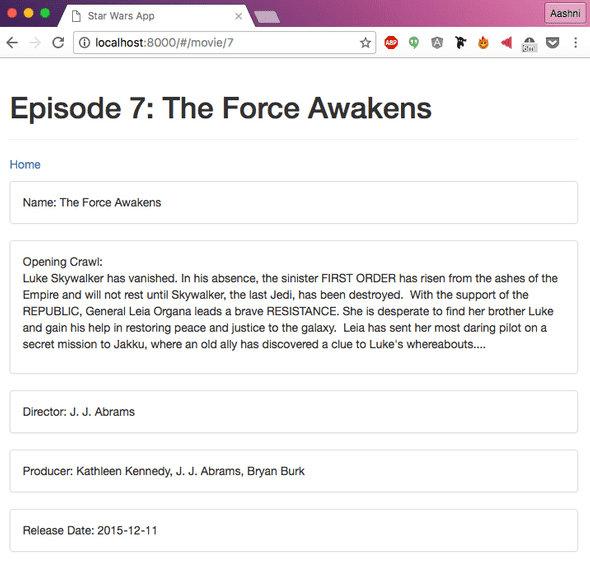
And finally, we’ll create a new file in views called movie.html to display the movie related information.
<div class="col-md-10 col-md-offset-1" ng-if="loading">
  <div class="page-header">
    <h1>Loading...</h1>
  </div>
</div>

<div class="col-md-10 col-md-offset-1" ng-if="!loading">
  <div ng-if="movie.title">
    <div class="page-header">
      <h1>Episode {{ id }}: {{ movie.title }}</h1>
    </div>

    <p><a href="#/">Home</a></p>
    <p></p>

    <div class="panel panel-default">
      <div class="panel-body">
        Name: {{ movie.title }}
      </div>
    </div>
    <div class="panel panel-default">
      <div class="panel-body">
        Opening Crawl:
        <p>
          {{ movie.opening_crawl }}
        </p>
      </div>
    </div>
    <div class="panel panel-default">
      <div class="panel-body">
        Director: {{ movie.director }}
      </div>
    </div>
    <div class="panel panel-default">
      <div class="panel-body">
        Producer: {{ movie.producer }}
      </div>
    </div>
    <div class="panel panel-default">
      <div class="panel-body">
        Release Date: {{ movie.release_date }}
      </div>
    </div>
  </div>

  <div ng-if="!movie.title">
    <div class="page-header">
      <h1>There is no Episode {{ id }} yet :(</h1>
    </div>

    <a href="#/">Return Home?</a>
  </div>
</div>
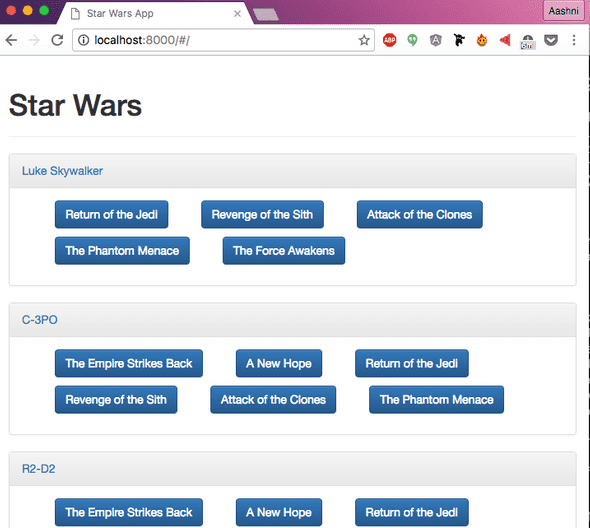
The last thing we’ll do is turn the names and buttons on the main page into links for each character or movie.
Before we update the main.html file, we’ll first need to make a change to the main.js controller - right now we’re only storing the Movie name. Instead of setting the $scope.films[film] to the film name, we’ll point it to an object that contains both the title and episode id.
$scope.films[api_call] = {
  title: film.title,
  episode_id: film.episode_id,
}
Head back to the main.html view and update the reference to the film name from films[film] to films[film].title<a href=""></a> HTML tag, with a few angular additions. First, each link will start with #/, this is because angular’s default routing adds #/ to the URL. You can change this later if you’d like. Next, we’ll be creating the relative URL by using #/movie/{{ movie.episode_id }} for example, where Angular will replace {{ movie.episode_id }} with the episode id.
<a href="#/character/{{ person.name }}">{{ person.name }}</a>

<a href="#/movie/{{ films[film].episode_id }}">
  <button class="btn btn-primary">
    {{ films[film].title }}
  </button>
</a>
And with that, we’re done! Load http://localhost:8000 in your browser and see the magic. You’ll first be greeted by the original page we created, with the characters names and movies that each character has been in. Next if you click on a character name or movie title, you’ll be taken to an information page about that character or movie.
If you think you’ve made a mistake somewhere, you can access a copy of the above code from the accompanying github repository. Click here to see all the code upto the end of this section.


